So why almond milk?
We simply wanted an alternative to dairy. This is not something that we needed to do as we have no symptoms of lactose intolerance or any other medical or ethical driver to move away from traditional milk (as others do), but we simply wanted to have more control over what goes into our milk and how it is processed. We can make our own almond milk controlling the ingredients, the processing and it comes packed with a great variety of nutrients:
- Vitamin A
- Vitamin E
- Vitamin D
- B Vitamins
- Calcium
- Phosphorus
- Magnesium
- Manganese
- Potassium
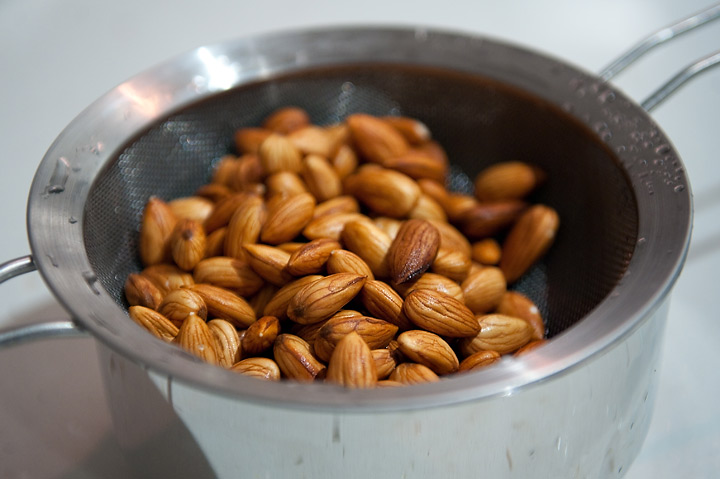
To get these sorts of benefits you need to first soak your almonds in water overnight (7+ hours) to reduce the presence of enzyme inhibitors and to promote good enzymes that in turn increase the availability of many vitamins (especially B vitamins). Nuts and seeds simply need to think they are germinating before they will release much of their goodness. Almond milk is also very low in calories, protein and fat.
Is there any downside? From what I have read there is a downside if you have known problems with a low thyroid function. Almond milk is listed as a goitrogenic food and has the potential to lead to the development of goiters, by disrupting thyroid function. Other foods that are listed as goitrogenic foods are spinach, broccoli, cauliflower, cabbage, kale, peanuts, flax and soy.
So how do you make it?
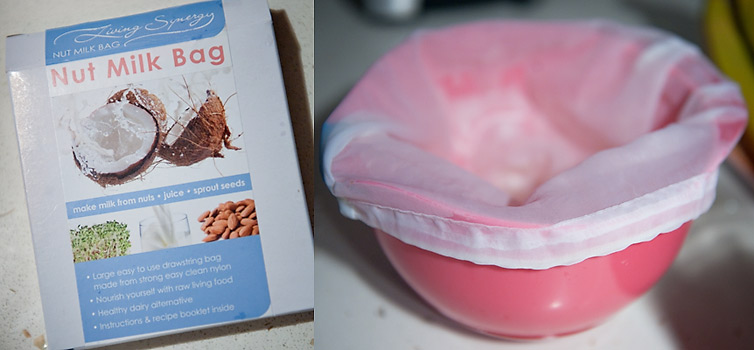
Well first there are a few things you need like – a blender, a nut milk bag (or straining equivalent such as a few layers of cheese cloth), Almonds (of course) and water. If you want to flavour it or sweeten it a little there are a variety of options you could add. We like to sweeten ours with 2 dates (per cup of almonds), others use stevia, vanilla etc to give it a unique flavour.

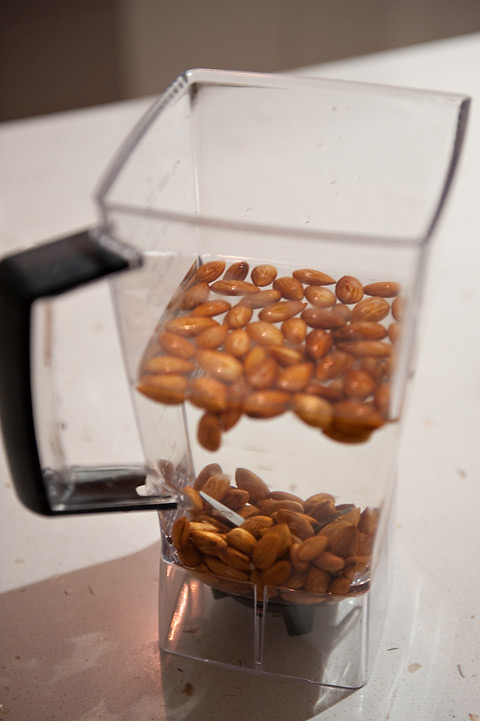
To make 1lt of almond milk we use 1 cup of almonds, add 1lt or water and 2 dates. As mentioned above we soak and rinse our almonds before adding everything into the blender.


We then blend for a 2-3 minutes. You want to make sure you there aren’t any chunky bits left. Then you are left with a mixture of the almond milk and lots of fine solids (also known as almond meal). We pour this mixture into a bowl lined with our nut milk bag.

Then you close up the bag and begin to twist and massage the liquid out into a bowl

When it gets hard to squeeze any more liquid from the bag you are left with almond milk, ready for drinking or storage

In the nut milk bag you are left with almond meal. Many people use almond meal in a wide range of baking, it can also be sprinkled on to salads or on breakfast for a light nutty flavour and a good source of fiber.

Any questions or thoughts on almond milk – leave a comment below. We absolutely love the taste of our home made almond milk (with date sweeteners). It’s used for all things requiring milk – mostly breakfast and smoothies at our place 🙂
– Craig

by Diana
I quit dairy and started using oat milk last year some time, earlier this year I switched to almond milk and haven’t looked back. It tastes great with my homemade honey roasted macadamia muesli. I have only used commercial organic almond milk, so thanks for the technique to make my own.
Only downside I have found is it separates when heated. I tried to make chai tea with it and also tried it in coffee- not so good.